

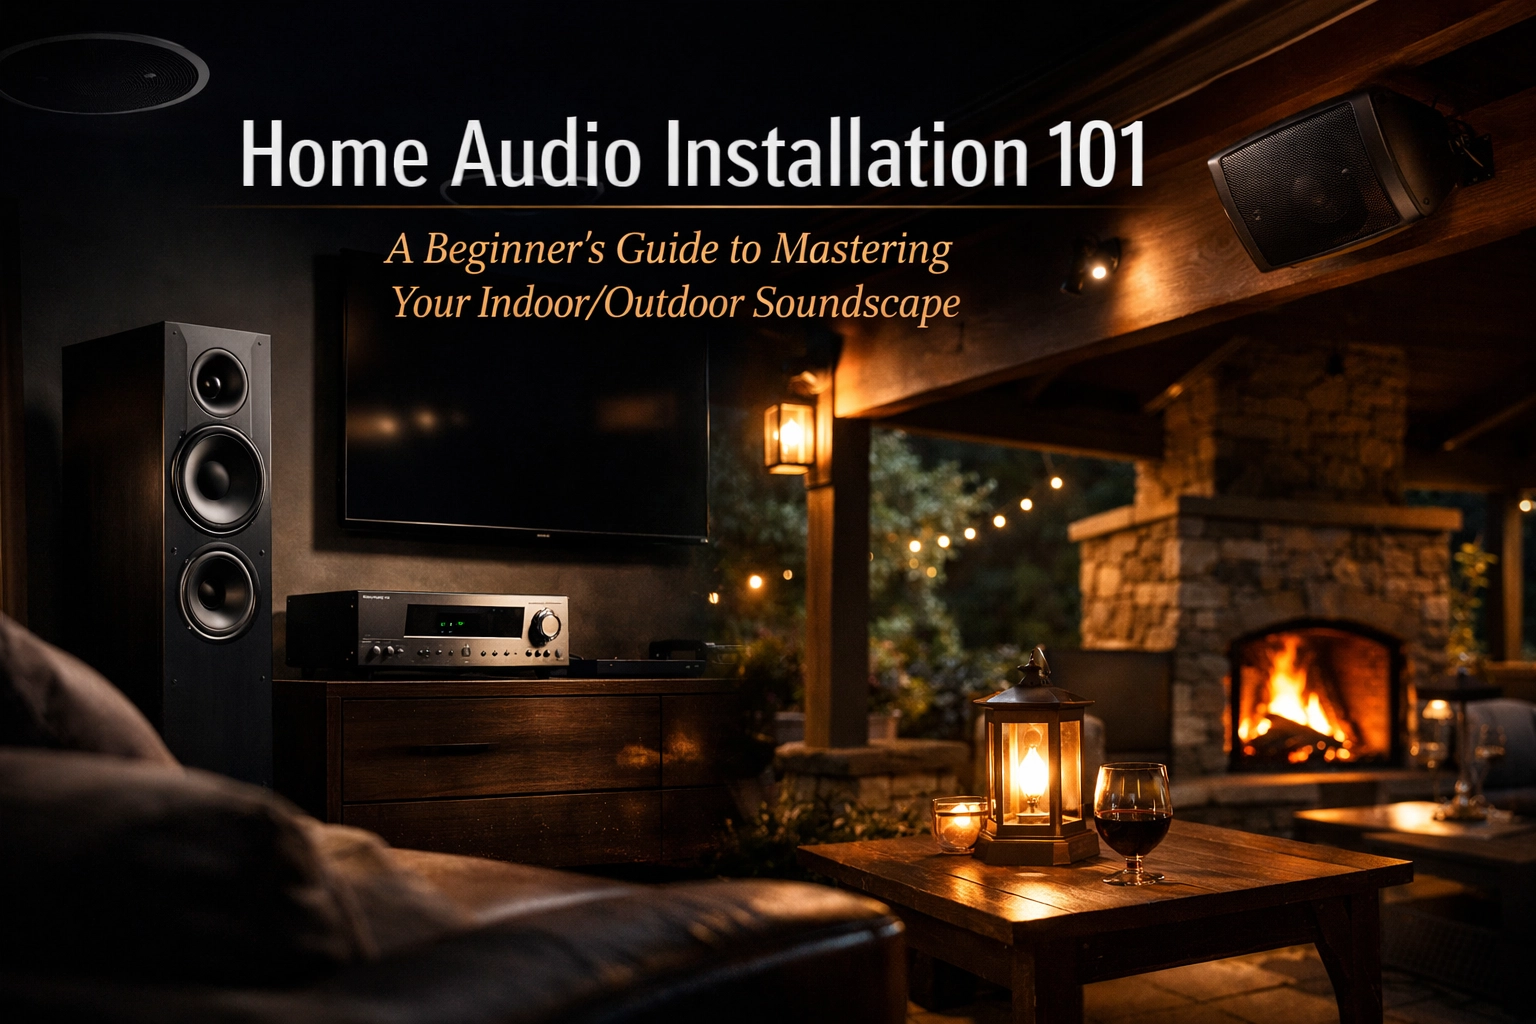
Think about the last time you were at a high-end hotel or a luxury spa. You probably noticed that the music didn't just feel like it was coming from a box in the corner, it felt like it was part of the air. It followed you from the lobby to the patio, perfectly balanced and crystal clear.
That’s the magic of a professionally designed soundscape. And here’s the best part: you don't need a commercial budget to get that same vibe in your own house. Whether you’re hosting a backyard BBQ in Minnetonka or just want to relax with some jazz in your Edina living room, a proper home audio installation is the ultimate game-changer for your lifestyle.
But where do you even start? If the thought of "impedance," "multi-zone distribution," and "CL3-rated wiring" makes your head spin, don't sweat it. We’re breaking it all down in this beginner’s guide. Real talk, by the end of this, you’ll know exactly how to turn your home into an audio sanctuary.
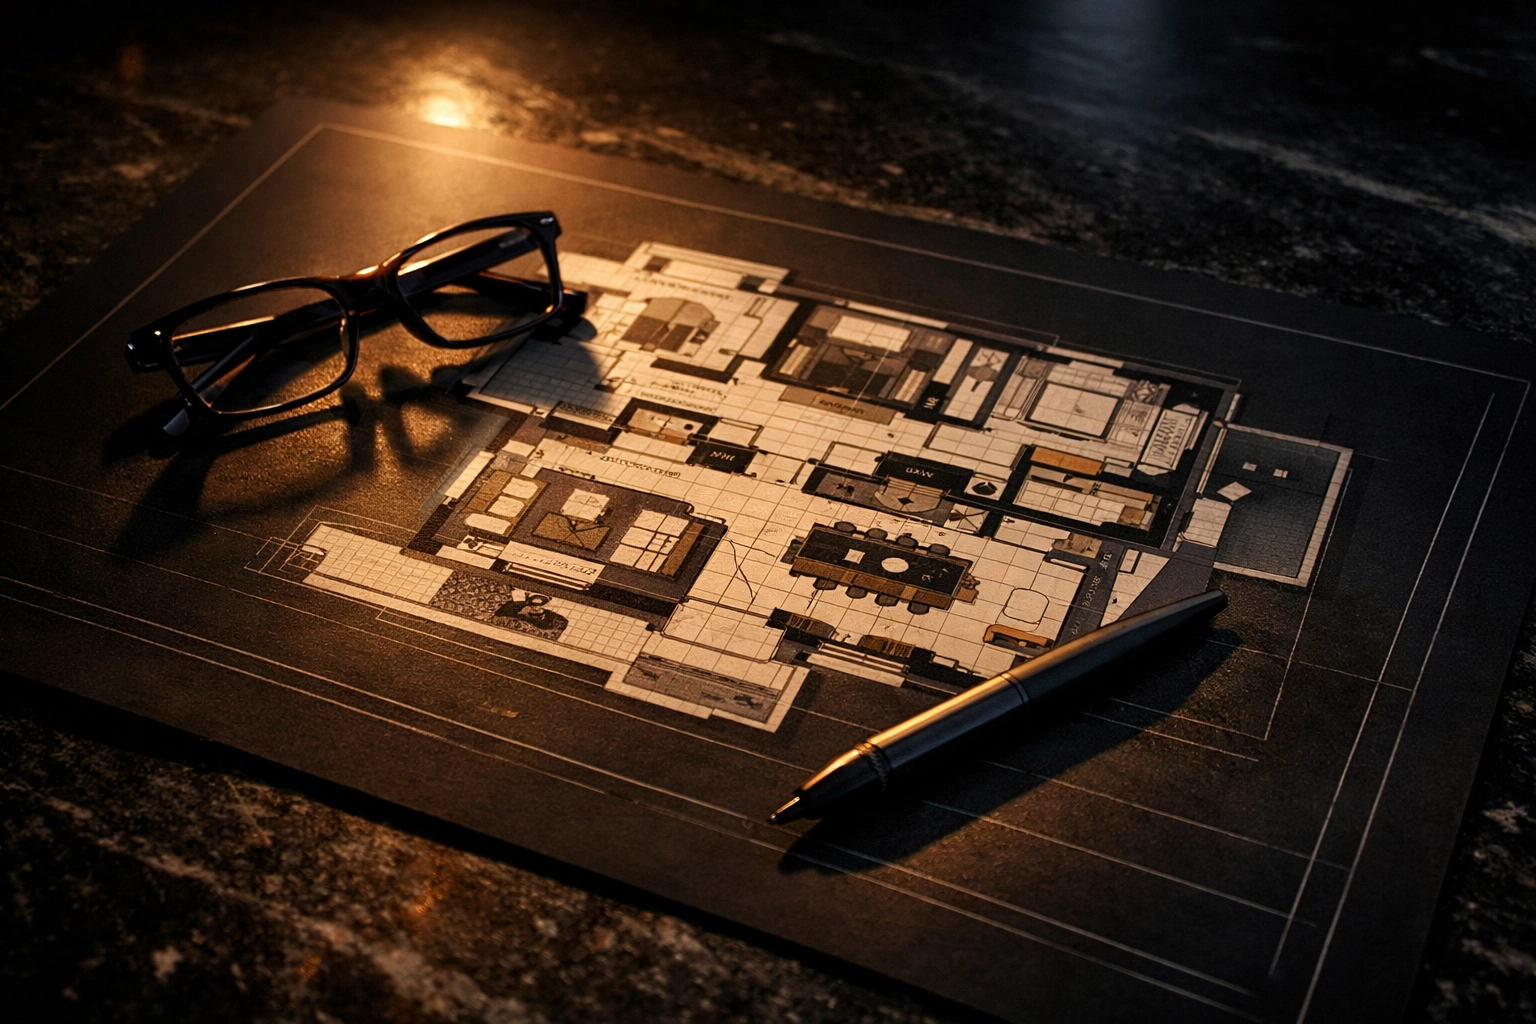
Step 1: The Blueprint – Assessing Your Space
You wouldn't start building a house without a floor plan, right? The same logic applies here. Before you go out and buy the shiniest speakers on the shelf, you need to look at your "zones."
In the world of home audio, a "zone" is simply a specific area where you want to hear music.
- Zone 1: The Kitchen (where you need high energy while cooking).
- Zone 2: The Living Room (where you want immersive sound for movies and lounging).
- Zone 3: The Backyard Patio (where you need weather-resistant gear).
Think of it like this: do you want the same music playing everywhere, or do you want the kids listening to Disney hits in the playroom while you enjoy a podcast on the deck? Defining these zones early determines how much power your amplifier needs and how your control system will be structured.
Step 2: Wired vs. Wireless – The Great Debate
This is usually where most homeowners get stuck. Should you go with the "grab-and-go" convenience of wireless, or the "set-it-and-forget-it" reliability of a wired system?
Option A: The Wireless Path
Systems like Sonos or HEOS are incredibly popular because they’re easy to set up. You plug them into a power outlet, connect them to your Wi-Fi, and boom, you’ve got music. It’s perfect for renters or anyone who doesn't want to cut holes in their drywall.
Option B: The Wired Path
If you want the crème de la crème of audio quality, wired is the way to go. Wired systems use high-quality speaker cables (usually 14 or 16 gauge) hidden behind your walls. They offer zero lag, better sound fidelity, and they don't eat up your Wi-Fi bandwidth. Plus, they allow for architectural speakers (in-ceiling or in-wall) that completely disappear into your décor.
Bottom Line: For a truly unified, high-end experience, most luxury home audio installations in places like Wayzata lean heavily toward wired solutions for the main rooms, perhaps supplemented by wireless speakers in secondary areas.
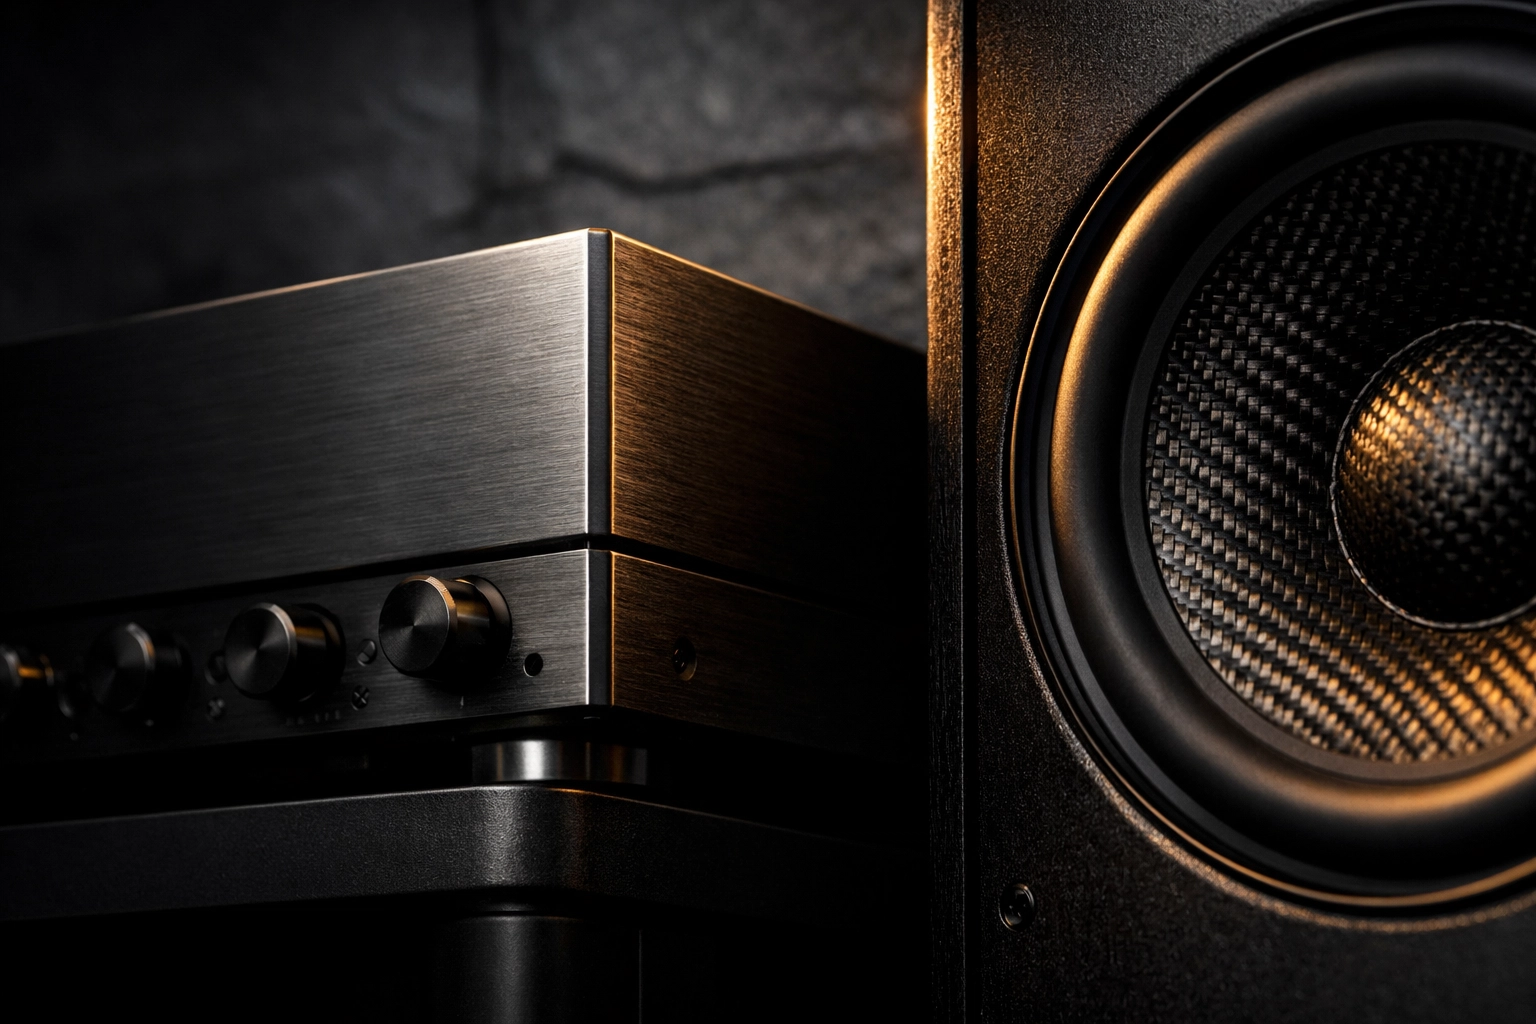
Step 3: Picking Your Components (The "Brain" and the "Brawn")
Every system needs a brain to tell it what to do and brawn to make the sound happen.
- The Receiver/Amplifier (The Brain): This is the heart of your setup. It takes your music (from Spotify, a turntable, or your TV) and sends it to the speakers. For multi-room audio, you’ll likely want a multi-channel amplifier that can power different zones independently.
- The Speakers (The Brawn):
- In-Ceiling/In-Wall: These are the gold standard for a clean look. They blend into the ceiling, making them perfect for kitchens and hallways.
- Bookshelf/Floor-standing: These are for the "serious" listening areas. If you’re building a dedicated media room in St. Louis Park, you’ll want these for their depth and punch.
- Subwoofers: Don't skip the bass! A subwoofer handles the low-end frequencies, think of it as the difference between hearing a lion’s roar and just hearing a cat's meow.
Step 4: The Art of Speaker Placement
Where you put your speakers is just as important as what speakers you buy. If you place a high-end speaker in a corner behind a curtain, it’s going to sound like garbage.
For the best indoor experience, try to place your main speakers at ear level when you’re seated. If you’re using in-ceiling speakers for background music, space them evenly to avoid "hot spots" where the music is too loud in one chair and too quiet in another.
The Sweet Spot: In a stereo setup, your two main speakers and your favorite chair should form an equilateral triangle. Angle the speakers slightly toward you (we call this "toe-in") to lock in that perfect center image where the vocals feel like they’re coming from right in front of you.
If you’re integrating your audio with a screen, check out our guide on 5 key considerations when choosing your home theater systems for more placement tips.
Step 5: Mastering the Great Outdoors
Outdoor audio is a whole different beast. You aren't just fighting room acoustics; you’re fighting wind, traffic noise, and the neighbor’s lawnmower. Plus, your gear has to survive Minnesota winters.
For a killer outdoor soundscape in Plymouth or Maple Grove, you don't want two massive speakers blasting from the back of the house. Why? Because to hear them at the end of the yard, you have to turn them up so loud that the people sitting near the house can’t have a conversation.
The Solution: Use multiple smaller "satellite" speakers hidden in your landscaping, paired with an underground subwoofer. This creates a "blanket" of sound that stays consistent as you walk around the pool or the fire pit. It sounds better, and it won't make your neighbors call the cops.

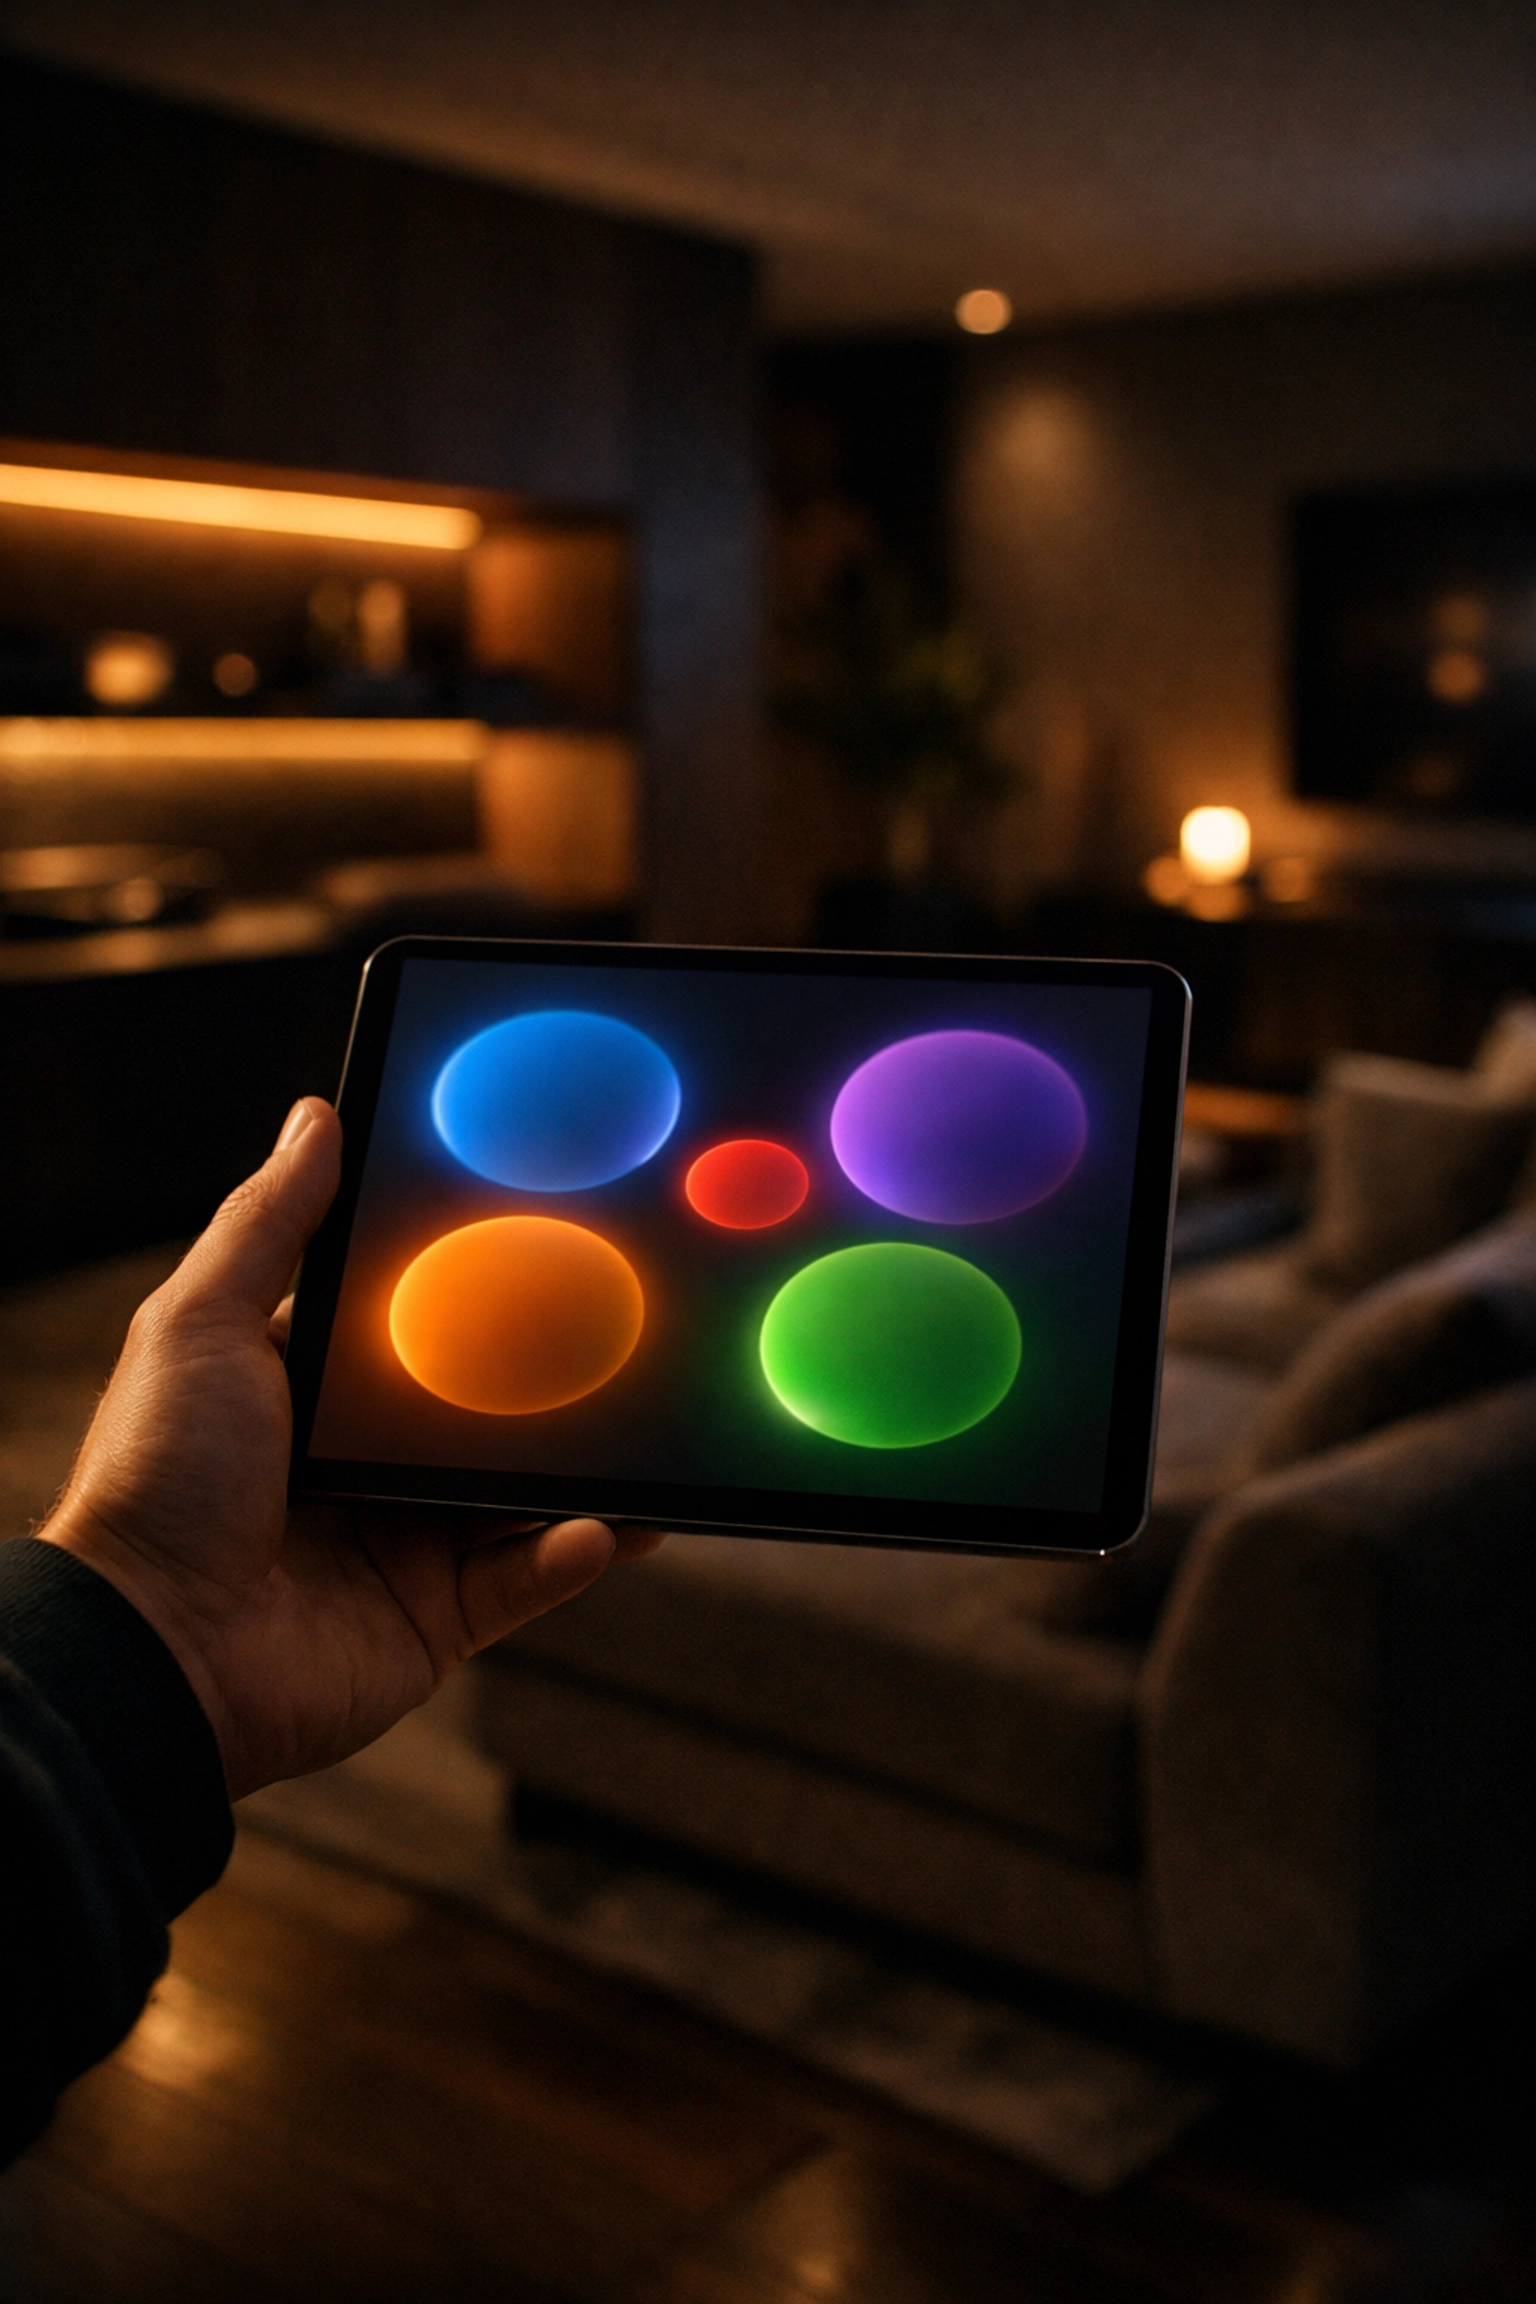
Step 6: Control and Calibration – Making It Simple
Here’s the deal: if your system is hard to use, you won’t use it. Nobody wants to juggle five different remotes just to put on some dinner music.
Modern home audio installations thrive on unified management. You should be able to whip out your phone, open one app, and control the volume, the source, and the zones for the entire house. Even better? Integrate it with voice assistants like Alexa or Josh.ai. "Hey Josh, play some 70s rock on the patio" is a total game-changer when your hands are full of grill tools.
Once it's all hooked up, don't forget to calibrate. Most modern receivers have a "room correction" feature. You plug in a microphone, and the system "listens" to your room and adjusts the sound to account for your furniture, windows, and rug. It’s like getting a custom tune-up for your ears.
DIY vs. Calling in the Pros
Now, you might be thinking, "I can do this myself on a Saturday, right?"
Well, maybe. If you’re just putting a couple of wireless speakers on a shelf, go for it! But when you start talking about running wires through headers, mounting 30-pound speakers into your ceiling, or outdoor trenching in Chaska, things get complicated fast.
A professional home audio installation ensures that:
- Your wiring is up to fire code (CL2/CL3 rated).
- Your Wi-Fi network is robust enough to handle the streaming load.
- Your speakers are perfectly phased (meaning they push air at the same time).
- The aesthetics are flawless: no messy wires hanging down the wall.
Whether you’re in Golden Valley, Shorewood, or Brooklyn Park, our team at New Age Technology is here to help you navigate the jargon and get straight to the good stuff: the music.
Ready to Turn Up the Volume?
Mastering your indoor/outdoor soundscape isn't just about buying gear; it's about designing an experience. It’s about that feeling of walking into your home and having it instantly match your mood.
So, start small or go big: just start! Your ears will thank you. And if you’re looking for more inspiration on how to level up your home, check out our latest blog posts for everything from smart lighting to home security tips.
Let's make some noise!